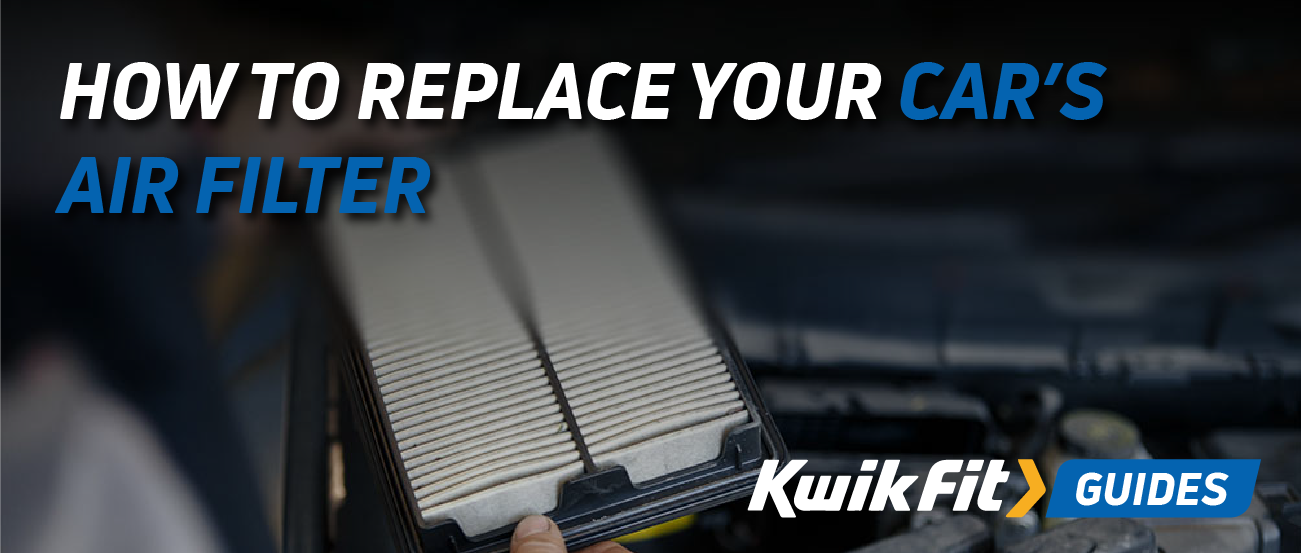
How to Replace Your Car's Air Filter
A step-by-step guide for keeping your engine happy.
- Park and secure your car on a flat surface.
- Turn off the engine, and let it cool.
- Open the bonnet and locate the air filter housing.
- Unclip or unscrew the housing cover.
- Remove the old air filter.
- Check the filter box for debris, and clean it out if necessary.
- Insert the new air filter in the correct orientation.
- Reattach the housing cover securely.
- Close the bonnet.
- Record the date and mileage for your maintenance log.
Replacing your car’s air filter is one of the simplest ways to keep your engine running efficiently and improve your fuel economy. But rooting around the engine bay can feel like quite a daunting task if you’ve never done it before.
However, if you’re up for a bit of DIY car maintenance, here’s how to replace your car’s air filter.
Why replacing your air filter matters
Your car’s engine air filter (as opposed to the air filter for cabin air) is a small but crucial component that protects your engine from dust, dirt, and other airborne debris. Engines need air in order to combust fuel – but if that air is dirty then the cylinders in the engine can quickly get clogged up. A clean filter ensures that the right mix of air and fuel enters your engine, which helps it to run smoothly and efficiently. So, leaving a filter clogged can reduce performance, significantly lower fuel economy, and even increase your emissions (as fuel gets combusted less effectively).
How often you change your air filter depends on how often you drive, as well as the climate you live in – but the usual recommendation for UK drivers is to check the air filter roughly every 12,000 to 15,000 miles. This equates to roughly once a year if you’re a frequent driver. It may not need replacing every time you check, but it also may need to be replaced more frequently if you often drive on dusty roads or in heavy traffic.
Tools you'll need
The good news is that, unlike other auto maintenance tasks, replacing your engine air filter doesn’t usually require any special tools. However, depending on your vehicle’s design, you’re likely to need:
- A screwdriver (often Phillips, sometimes flathead)
- A clean, dry cloth or small vacuum
- Your vehicle owner’s manual (for finding the air filter & checking what type/model it is)
You can quite easily order replacement air filters online, but you need to make sure that it’s compatible with your car’s make and model.

A step-by-step breakdown for changing your air filter
1. Park & secure the car
Start by making sure your car’s parked on a flat, stable surface. Make sure the handbrake is properly engaged and turn the engine off – it’s dangerous to be working under the bonnet while the engine is running. Also, as we’ve already explained, running the engine without an air filter can quickly damage it.
2. Let the engine cool down
If you’ve had to drive to get the car to a flat, stable surface, give the engine a few minutes to cool off. By virtue of how they work, engines heat up surprisingly quickly, and it’s very easy to accidentally burn yourself before they’ve fully cooled down.
3. Find the air filter housing
Open your bonnet and find the air filter housing. It’s usually a rectangular or circular plastic box near the top or side of the engine. Double check your vehicle’s manual if you’re unsure of where to find it.
In most modern cars, it’s quite easy to spot – it’s a fairly large plastic casing with a hose attached.
4. Open the housing
Depending on the design, you may need to unclip plastic tabs, loosen screws, or slide open a latch. Most modern cars tend to use a housing design with plastic tabs as this requires fewer tools – which makes maintenance easier and more efficient.
It also has the added benefit that, if you only need to unclip some plastic tabs, you’re not likely to accidentally drop any screws or clips inside the engine bay or into the air intake assembly – which used to be a real pain for mechanics.
5. Remove the old air filter
Once you’ve opened the housing, you’ll be able to see the air filter itself. It’s likely to look grey, dusty, or even outright grimy – but this is perfectly normal. After all, the filter’s job is to get dirty in order to stop your engine from becoming dirty.
Be sure to note how the filter is positioned before you remove it (so that you can install the new one in the same way) and then gently lift it out.
You’ll notice that there’s a rubber edge around the filter - this is to create a seal so that dust and muck can’t get past.
6. Clean the air filter box
The box itself tends to accumulate dust and debris, as debris gets sucked up through the air intake but can’t get past the filter. Start by hoovering this up with a good quality vacuum, and then use a clean cloth to wipe away any dust or debris. Be sure to get the seal-edge of the housing clean too – as this will ensure a better seal with the new filter.
Also make sure the box is completely dry and free of any oil or grime before proceeding.
7. Insert the new filter
With all the prep work done, pop the new air filter into the housing with the same orientation as the old one. Most filters will only actually fit one way, but double check it’s snug and evenly seated so you don’t accidentally damage it by forcing the housing onto the wrong part.
8. Secure the housing cover
Now the crucial final bit: clip or screw the cover back in place. Ensure it’s sealed all the way around to avoid unfiltered air sneaking into the engine.
9. Close the bonnet
Lower the bonnet gently and make sure it clicks in place. It can often help to give it a gentle tug to confirm that it’s latched in properly. If it wiggles at all, it’s only half latched – so unlatch it and try again.
10. Record your maintenance work
This bit’s a useful way to get a rough idea of when you’ll next need your filter to be replaced. Log the current date and mileage somewhere sensible – such as your car’s maintenance log, or a phone note.
How often should you replace your air filter?
As we mentioned above, most manufacturers recommend changing your air filter every 12,000 to 15,000 miles (roughly every year for the average driver). But you might need to do it more frequently if you live in a high-pollution area, or regularly drive on country roads.
Opening the filter housing doesn’t mean you have to replace the filter. You can do so just to check whether it needs to be replaced before actually ordering a new one.
Signs your air filter needs replacing
An air filter will get dirty and grimy fairly quickly, so a visual inspection isn’t always the easiest way to decide whether it needs to be replaced. If you’re not sure, look out for these tell-tale signs:
- Reduced fuel efficiency
- Sluggish acceleration
- Unusual engine noises
- Your Check Engine light is on (though this could be due to a whole host of different reasons)
Unsure? Trust the experts at Kwik Fit
While replacing your engine air filter is a fairly straightforward DIY project, not everyone has the time, patience, or confidence to do it themselves. Avoid any headaches and trust the experts at your local Kwik Fit to keep your engine, and the rest of your car, humming happily along.
We offer a variety of services to suit your needs, but a regular yearly or half-yearly car service is the best way to ensure your car continues to work perfectly for as long as possible.