How To Align Headlights For An MOT With Kwik Fit
| Tuesday 25th June 2019 3:35pm
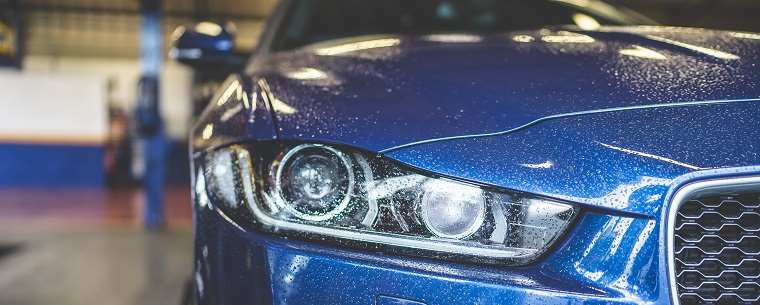
Before you take your car for its MOT, it’s worth carrying out a few checks to increase the chances of a vehicle passing with flying colours.
From March 2016, a new testing standard for car headlights was introduced. It stresses the importance of correct alignment, stating it shouldn’t just be a quick check. So how can you check that your headlights are aligned correctly before you drop your car off for its annual MOT check?
How to check headlight alignment
First, you need to check the headlight alignment to see if it’s correct and whether it needs adjusting. You can do this in a few easy steps.
Start by removing any excess weight such as items in the boot, as these may give you an incorrect reading. You should also ensure that your tyres are inflated to the manufacturer’s recommended pressure. Then, park your car about 60cm away from a wall or garage door.
Once your car is in position, push down on each corner of your car to ensure that the shocks are level. Then, measure the distance to the ground from both front headlights to ensure the suspension is level.
Now you can turn the headlights on, making sure they’re on the standard setting and not the beam or fog light settings. The headlights will produce a circle shape on the wall. Mark a plus sign on the wall using two pieces of tape or a pencil. One line should go vertically from the top of the circle to the bottom and the other should go horizontally from side to side. Where the two lines meet in the middle is the centre of your headlights.
The centre of both plus signs should be the same height, so use a tape measure to check. If they aren’t, you may need to lower one plus sign so that they are the same height.
Once you’re happy with your marks and they’re both the same height, reverse your car so it’s about eight metres from the wall. If the middle of your headlights still fall within your markings, then you don’t need to make any adjustments. If they are falling above, below, or to the side of the plus symbols, then you’ll need to realign your headlights.
How to adjust headlights
So, you’ve now determined that your headlights need adjusting, but how do you do this? First, you need to locate your headlight adjustment screws and use a screwdriver to turn the screws clockwise or anti-clockwise until they’re at the correct level.
Where are the headlight adjustment screws?
Every car is different, so you should check your car manual to determine where the headlight adjustment screws are located.
In most cars, you’ll need to remove the trim from around the headlight and you should find them located within the headlight housing. If you can’t find them, it could be that they’re located behind the battery, in which case you should get a professional to adjust your headlights for you.
Once you’ve located the screws, you can begin to make your adjustments. Put a blanket or an item of clothing over the headlight you aren’t adjusting. Turn the lights off and use a screwdriver to turn the screws until the headlight is at the level you require. Turn your headlights back on to see if further adjustment is required.
There should be a screw to adjust the lamp vertically and another screw to align it horizontally. Do each adjustment one at a time.
It’s always a good idea to check the manufacturer’s guidelines as they may tell you the height your headlights need to point at as well as how to take the headlight casing off.
How to adjust LED headlights
It’s especially important that LED bulb headlights are aligned properly. This is because they can be brighter than standard headlights and you don’t want to distract or blind other drivers, as this could be dangerous. You can align your LED headlights in the same way as we’ve described above.
What is a headlight beam setter?
A beam setter is a device that can track your headlight alignment for you, so you don’t have to measure everything and mark tape on the walls. A headlight setter is what is usually used in MOT tests to check your car’s headlight alignment.
The beam setter contains a light lens which is mounted on an adjustable rail. The headlamp is aimed through the lens and a measurement is taken manually by looking at the beam pattern that has been projected onto a screen.
What other things do I need to check before my MOT?
There’s a reason your headlights are checked in an MOT test and this is because misaligned, faulty, or cloudy headlights could impair your vision and you may cause an accident. The Government website states that 30% of all MOT faults relate to lighting and signalling, and that one in five cars had an issue with lighting, such as blown light bulbs. So what else can you check before you take your car for its annual MOT test?
You should make sure that all of your lights are working correctly. This includes indicators, brake lights, and fog lights. They should also be secure and the casings shouldn’t move when they’re pushed.
The lights must be in good condition and be the correct, legal colour (white, white with a slight blue tinge, or warm white). The light casing shouldn’t be cloudy or foggy. This is usually caused by everyday road conditions, debris such as salt or dirt, or water vapour. You can take the casing off and clean the cloudiness away. If you find water vapour building up regularly, you may need to seal the headlights to stop rainwater from getting in.
For more information and diagrams about headlight changes to the MOT test, take a look at the government website.
Alternatively, if you’d like a professional to look at your headlights before MOT testing, get in touch with your local Kwik Fit centre – we’ll be glad to help!
Any facts, figures and prices shown in our blog articles are correct at time of publication.
Featured Articles
Is it Illegal to Drive With One Headlight?
Saturday 19th July 2025
Wondering if it’s illegal to drive with one headlight? Learn about the safety risks and penalties of illegal blown bulbs and why you should fix them promptly.
Air Con in EVs & Hybrids: Experts Answer Your Questions
Monday 30th June 2025
Does air con drain EV batteries? Can you use the air con while charging an electric car? Find out the answers to these questions & more from Kwik Fit’s experts.
Why Is Your Car Making a Noise? Fixes & Tips
Friday 13th June 2025
When your car starts making unexpected noises, it can certainly be quite disconcerting; it may be nothing to worry about, but here’s what you need to know.


