How to Clean Your Car's Headlights
A 7-step guide to seeing the road more clearly
- Inspect where the yellowing or dirt is on your headlights, using your hand to feel the plastic of the headlight
- If the plastic feels smooth, then the yellowing is on the inside
- If the plastic feels rough then the yellowing is on the outside
- For minor external yellowing, use toothpaste and a toothbrush to gently scrub
- For deeper external yellowing, use warm water and sandpaper
- If your yellowing is on the inside, it’s time to have your headlights replaced
- Take your vehicle into your nearest Kwik Fit garage for a full inspection
Your vehicle's headlights play a major role in your safety when it comes to driving. Having them as crystal clear as possible will allow great visibility. Over time, they can become murky, yellowed and unclear.
You may be asking yourself, “How can I best clean my car’s headlights?”. We have a guide to make your headlights shine just as they did as your vehicle rolled off the production line: sparkly, clear, and gleaming.
Why yellowed headlights are an issue
Because the headlights are there to light up the road in low visibility situations, it’s essential that the light isn’t dimmed by the headlight covers. Good, clear visibility not only helps you to see the road ahead but to actually be seen by other drivers or road users.
The same thing can happen if there’s a break in the headlight seals and water gets into them: the water fogs up the glass and refracts the headlight into a glare.
Being able to clearly see other cars & road users, as well as being able to see when people are braking and/or indicating is vital. So letting your headlights get too yellowed should be avoided at all costs!
Luckily, it’s often quite simple to fix this. Let’s begin with de-yellowing the outside of your headlights.
Assess where the yellowing is
To be sure you’re not wasting your time, it’s wise to first assess where the yellowing is on the headlight covers.
The yellowing happens when the plastic gets pitted over time due to dust, UV damage, oxidation, and general environmental conditions. So it’s most usually only on the outside. But it can also happen on the inside when the covers are improperly sealed.
The best way to check is to feel the outside of the headlight plastic. If it feels smooth then it’s probably not yellowed on the outside. The yellowing will feel rough so, if it feels rough, begin your cleaning efforts with the outside.
Use whitening toothpaste to polish the headlight covers
The cheapest, simplest way to de-yellow the outside is to use a gritty whitening toothpaste as a polish, and an old toothbrush that you’re happy to throw away. This costs a few pounds at most and you can have your headlights sparkly in under an hour. However, be sure to do this on a dry day if you don’t have a covered area like a garage or carport to do this in.
The well-known auto YouTuber, ChrisFix, has a great video on using the toothpaste method to clean covers:
In short, you should apply the toothpaste thickly by hand all over the cover, let it sit for a few minutes, and then work it in with the toothbrush. This should begin to make the toothpaste darken as it picks up the muck from the headlight. Then, spray some lukewarm water liberally on top of the applied toothpaste and begin to buff it all off with some kitchen roll.
Ideally, you’ll now have a sparkly headlight cover — but if it hasn’t lightened it as much as you’d like, you can repeat the process again. Finally, when you’re happy with the level of lightening, finish off by buffing in some car wax. This helps to seal the plastic and stop it yellowing again as quickly.
If it’s still not lightened the cover as much as you want, and you’re sure that the yellowing is on the outside only, then you can proceed to the next approach.
Warm water & sandpaper
This method might sound scary, but is essentially just a muscle-up from the toothpaste method. If the headlight covers are really yellowed then they’re heavily pitted — so need extra abrasion to smooth them out!
You’ll need a few different grits of sandpaper: a 400 grit, a 600 grit, and a 2000 grit. The lower numbers indicate a more abrasive sandpaper — these will do most of the heavy lifting while the high grit sandpaper will do more of a final smooth and polish.
Before you get started, protect the paintwork around your headlights by using masking tape. Then, get the headlight quite wet by spraying it with warm water. Then wet the sandpaper and begin to lightly scrub in circles. You should start to see the grit running in the water, keep going until it’s uniformly knocked down.
Then move to the 600 grit paper and repeat the process — make sure to get it quite wet and keep re-spraying the headlight itself. If you dry sand, you’re more likely to create unwanted, deeper scratches. When this is uniform, move up to the last grit and repeat again.
Finally, wipe the headlight clean with some kitchen roll, and then use the same type of toothpaste from the first step to do the final buff. You can actually get special “buffing paste” that’s usually used for polishing things like jewellery, but toothpaste works just fine here.
As before, finish with some wax to seal the headlight covers.
How has moisture got into my headlights?
A common issue you may face with your headlights is getting water trapped in them. This is often through damaged seals or vents, due to cracks, general wear, and even dirt buildup. It can also happen from jet washing your car or driving through rain. The moisture then condenses on the inner lens surface because of the change in temperature, which creates a foggy appearance.
How do I get rid of moisture from my headlights?
To get rid of the moisture that has built up in your headlights, there are some easy solutions you can follow:
- Inspect your car for cracks, gaps, or damaged seals (this is where water may gain entry)
- Ventilate the headlights by removing the bulbs and letting the housing dry naturally or use a hairdryer on low heat
- You can also place silica gel packets in the space to absorb any excess moisture
- If it happens that the seal around your headlights is compromised, reapply an automotive-grade silicone sealant around the edges. Make sure that it has fully cured before reassembly
Headlight maintenance
Your headlights are essential for yours and others safety on the roads, so looking after them properly should be part of your regular car maintenance checks. Here are some ways that you can look after your headlights to get the best out of them:
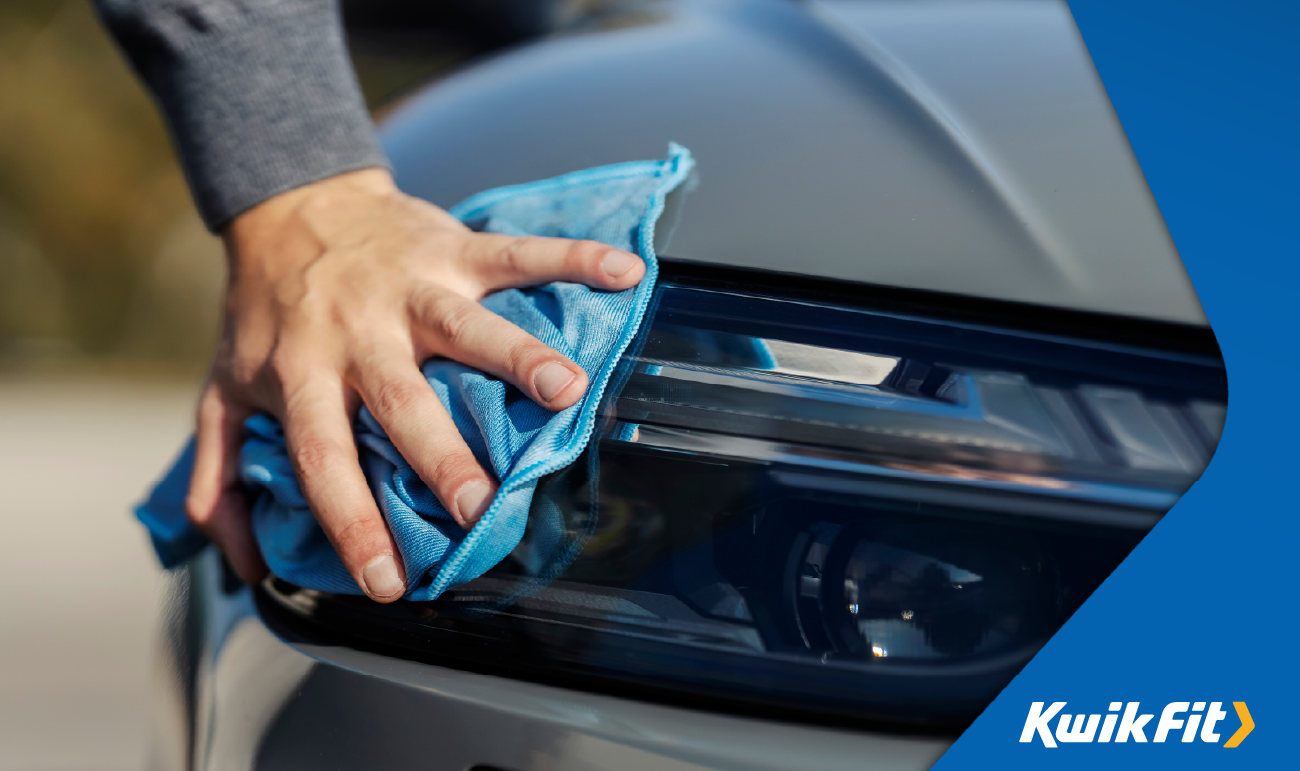
- Cleaning your headlights regularly to prevent dirt build. To clean your headlights, get a soft cloth and some gentle automotive cleaner to wipe away any loose dirt.
- Periodically check for cracks, fading, or yellowing, and restore clarity with a headlight restoration kit if needed.
- Ensure the seals around the headlights are intact to prevent moisture from entering, and replace damaged gaskets promptly.
- Keep the bulbs functioning by inspecting them for dimness or burnout and replacing them in pairs to ensure balanced lighting.
Additionally, avoid using high-pressure water near the headlights and park in shaded areas, or use protective covers to minimize UV damage, to prolong their lifespan. If moisture persists, the headlight housing may need replacing.
Why else could my lights be so dim?
Aside from yellowing and moisture getting into your headlights, there are several reasons that your headlights may be dim. It may be an issue stemming from:
- Old or burnt out bulbs
- Wiring issues
- Internal dirt and grime
- Poor quality bulbs
- Dimming reflectors
- Battery or alternator issues
- Incorrect headlight alignment
As opposed to any faults or problems, it may be that your headlights aren’t feeling bright in comparison to the increase of LED headlights which are considerably brighter than traditional incandescent bulbs.
Let Kwik Fit shed some light on the matter
Wanting some expert advice and support with your headlights? The experts here at Kwik Fit have got you covered when it comes to your headlights. Contact us today and find your local garage and check out our other services to keep your car on the road safely. Make sure you also keep up to date with our blog to stay in the loop.