How to Remove and Clean Your Car Mats
A 10-step guide to keeping your car clean.
- Ensure your vehicle is stationary and the engine is off before starting.
- Carefully take out each mat to avoid spilling debris inside the car.
- Vigorously shake each mat to dislodge loose dirt and debris.
- Use a vacuum cleaner to remove embedded dirt from both sides of the mats.
- Determine if your mats are rubber or carpet to choose the appropriate cleaning method.
- Prepare the cleaning solution by mixing a suitable cleaner with water based on your mat type.
- Use a brush to scrub the mats, focusing on stained or heavily soiled areas.
- Rinse off the cleaning solution and allow the mats to dry thoroughly.
- While the mats are drying, vacuum the car's interior floor to remove any remaining dirt.
- Once dry, place the clean mats back into your car, ensuring they are properly secured.
Cleaning the car is something most people avoid doing on their day off but giving your car mats a proper clean is one of those small jobs that makes a big difference. Whether it’s muddy boots from a countryside ramble, sand from a beach trip, or everyday crumbs and spills, car mats take the brunt of daily driving life in the UK.
So, it’s worth cleaning them once in a while. But it’s not just an aesthetic task: regularly removing and cleaning your mats doesn’t just keep your car looking smarter – it also helps reduce odours, prevent wear on your interior, and even improve driving safety by ensuring your mats don’t slip or bunch up underfoot.
But where to start? Well, you’ve already read through the 10 simple steps, but let’s now look at them in a lot more detail.
1. Park safely and turn off the engine
Before beginning, make sure your car is parked on a flat surface, that the engine is turned off, and the handbrake is engaged. This provides a safe environment to work in and prevents any accidental movements.
2. Remove all floor mats
Open all car doors to access each mat easily. Carefully lift and remove the mats to avoid spilling any accumulated debris onto the car floor. This step is crucial for a thorough clean.
3. Shake off loose dirt
Take each mat outside and give it a good shake to remove loose dirt, stones, and debris. For stubborn particles, gently tap the mats against a hard surface. This initial step reduces the amount of dirt you'll need to clean later.
4. Vacuum both sides thoroughly
Using a vacuum cleaner, meticulously vacuum both sides of each mat. Pay special attention to corners and crevices where dirt tends to accumulate. This step ensures that embedded dirt is removed, preparing the mats for a deeper clean.
5. Identify the mat type
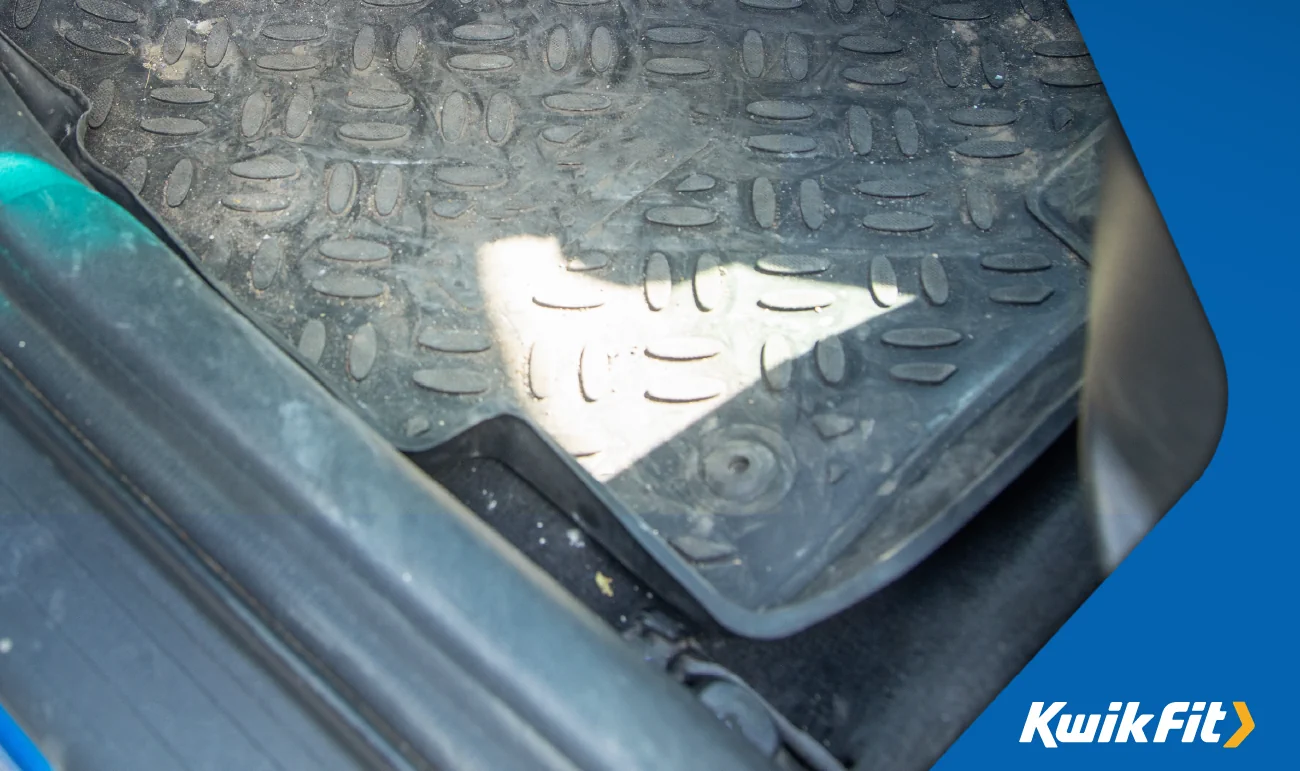
Then you need to determine whether your mats are rubber or carpeted. This is surprisingly important because the type of mat will inform which cleaning methods and products are appropriate. The two mat types are:
- Rubber mats: Durable and water-resistant, ideal for wet or muddy conditions.
- Carpet mats: Offer a more luxurious feel but require more careful cleaning to avoid damage.
6. Prepare the cleaning solution
Based on your mat type, prepare a suitable cleaning solution:
- Rubber mats: Mix a mild detergent with warm water. Avoid harsh chemicals that could degrade the rubber.
- Carpet mats: Use a carpet cleaner or a mixture of water and a small amount of mild detergent. Test a small area first to ensure it doesn't cause discolouration.
7. Scrub the mats
Using a soft-bristled brush, scrub the mats thoroughly:
- Rubber mats: Focus on grooves and textured areas where dirt can accumulate.
- Carpet mats: Gently scrub to avoid damaging the fibres, paying attention to stained areas.
This step helps to lift and remove embedded dirt and stains.
8. Rinse and dry them completely
After scrubbing, rinse the mats with clean water to remove any soap residue:
- Rubber mats: You can use a hose for a thorough rinse.
- Carpet mats: Use a damp cloth to blot and remove excess moisture.
Allow the mats to air dry completely before placing them back in the car. This prevents mold and mildew growth.
9. Vacuum the car floor
While the mats are drying, vacuum the car's interior floor to remove any dirt or debris that may have accumulated. You’d be surprised by how much muck gets under the mats themselves, so vacuuming this area makes sure that you get a spotless car.
10. Reinstall the mats
Once the mats are completely dry, place them back into your car. Ensure they are properly aligned and secured to prevent any interference with the pedals while driving.
Additional tips for maintaining clean car mats
Keeping your car mats clean doesn’t have to be a time-consuming chore. A little regular maintenance goes a long way in preserving both their appearance and functionality.
- Try to give your mats a quick clean every couple of weeks – more often if you regularly drive in muddy or sandy conditions, or if you often have pets or young children in the car.
- For carpet mats, using a fabric protector spray after cleaning can make a big difference. These sprays help repel future stains and spills, making your next cleanup much easier.
- It’s also a good idea to do a deeper clean with each change of season. During winter, for example, road salt and slush can build up quickly, while in summer, you’ll usually get a buildup of dust and dry dirt.
Keep your car mechanically clean at Kwik Fit
Regular cleaning of your car mats keeps your car’s interior nice and clean – but what use is a clean interior if the vital components of your car aren’t in just as good condition? The best way to keep your car mechanically clean is to opt for regular servicing with the experts at your local Kwik Fit centre.
From half-yearly to full and thorough annual servicing, we’re always on hand to make sure your vehicle’s in the best condition possible. Book a service today.