How To Replace Blown Headlights
If your bulb has blown, it’s time to replace it — here's a step-by-step guide.
- Check your car’s manual to identify which bulb type you need, and purchase it from a reputable retailer.
- Park your vehicle safely and switch off the engine and headlights.
- Open the bonnet and locate the rear of the headlight.
- Remove any covers or clips blocking the bulb holder.
- Unclip and remove the old bulb, being careful not to damage anything.
- Insert the new bulb without touching the glass.
- Make sure all covers, wires, and clips are reattached securely.
- Then, test the new headlight to ensure it works.
- Seek professional help from an expert like Kwik Fit if the bulb still doesn’t work.
The importance of well-functioning, clean bulbs and headlamps really can’t be underestimated. A burnt-out bulb or headlight in disrepair can lead to a hefty fine or, worse, a collision.
While it’s not always immediately obvious when a headlight blows, poor visibility and light signals from other road users are pretty firm indicators that your bulbs might not be operating correctly.
It’s a good idea to check your bulbs weekly or before a long journey so that you don’t get caught out in the dark. If you need to, ask a friend or partner to check your lighting for you while you switch them on and off, and between full and dipped beams (though it’s best to do this in the daytime so you don’t hurt their eyes!).
Is it illegal to drive with one headlight in the UK?
In case you were thinking of ignoring the problem, it’s worth noting that it is illegal in the UK to drive with only one headlight on. Both the Road Vehicles Lighting Regulations 1989 and The Highway Code stipulate that vehicles should not be used without working headlights, especially at night or in conditions where visibility is poor.
Failing to do so can put yourself and other road users in danger, causing confusion and limiting how visible your car is to others around it.
How to replace a blown headlight bulb
While we’d advise taking your car to a professional for a quick and easy bulb replacement or headlight fix, here’s how to replace a blown bulb by yourself. For this, you’ll need:
- Your owner’s manual
- A replacement bulb
- Gloves
- A screwdriver
- A paper towel or a clean, dry cloth
Keep in mind that the exact procedure will vary depending on the make and model of your vehicle, and your owner’s manual will be the most accurate guide.
1. Find out what type it is
Check your owner’s manual to find out the type of bulb you need, or contact a local, reputable garage like Kwik Fit for advice.
It’ll be one of three types: halogen, xenon, or LED. The latter is the newest and most energy-efficient type of light.
Xenon lights — also known as HID bulbs — are increasingly popular in new cars, having first come to use in luxury vehicles. HID stands for High Intensity Discharge, meaning you get more light that goes further in the dark.
Purchase one or two bulbs at your local car parts store. You may want to buy extra to have a spare for future or in case you drop one – they can be quite delicate and prone to smashing!
2. Turn your engine & headlights off
As an important safety measure, be sure to turn your engine and your headlights off before you get started. You should also be sure that you are parked on a safe part of the road or off the street before attempting this. Good lighting is a must as well!
3. Find the bulb holder
Now, ensure that you have your new bulb at the ready so that you can quickly change it out, to prevent moisture from getting in when the old one is removed.
Lift the bonnet of your car and locate the rear of the headlight. Remove any attachments like wires or plastic covers. In some models, you’ll need to lift a plastic or metal lever/catch, or turn a screw cap.
This can be quite tricky depending on your make of car, with various parts which need to be moved in order to access the rear of the headlamp - if you’re struggling to access the headlamps, then it’s better to get professional help.
4. Disconnect the bulb
The bulb is often held in place by a clip, so lift this and remove the old bulb. You may need to wiggle or rotate it gently to free it.
Remember — do this step carefully, as the bulbs are often so fragile that they can break between your fingers!
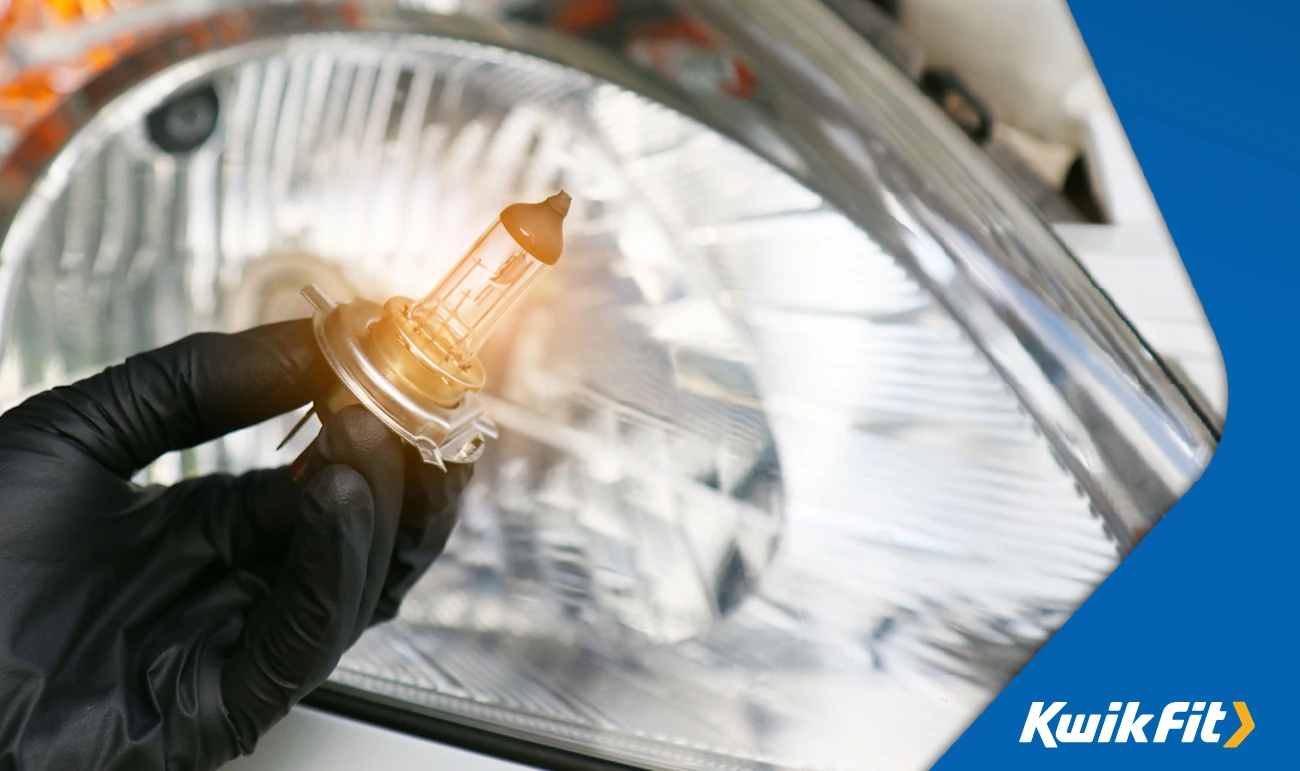
5. Replace it with a new bulb
Now’s the time to slot your new bulb in place — but take care not to touch the glass, as the grease on your fingers may blow or cloud it. As such, we recommend using a paper towel or dry cloth to handle the bulb.
Once it’s in place, you can reattach any wires, covers, or clips and close your bonnet.
6. Check the new headlight
This step is not to be underestimated! Now that your new bulb is fitted, you need to ensure that it’s firmly in place and, well, that it actually works.
If it doesn't work, check you have reattached everything correctly. If there’s still no joy, a wiring issue may be the culprit, and we suggest visiting your local garage.
But for the most part, these simple steps should take your car headlamps from lopsided to shining brightly! Why not take it one step further and give your headlights a clean now too?
Do Kwik Fit change bulbs for headlights?
If you’re not comfortable doing the bulb replacement yourself, your headlights are sealed beam, or your lights are faulty, give the team at Kwik Fit a call. Our expert staff can supply, fit, and align replacement bulbs for you in no time.
Call your nearest centre today for a quote on how much a bulb replacement with Kwik Fit will cost for your car.
In the meantime, head over to our blog for motoring news and trends, or browse through our guides for more helpful how-tos.