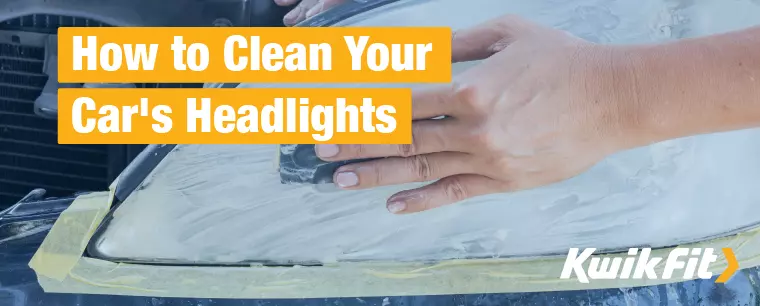
How to Clean Your Car's Headlights
Jack Dreyer | Thursday 24th August 2023 4:00pm
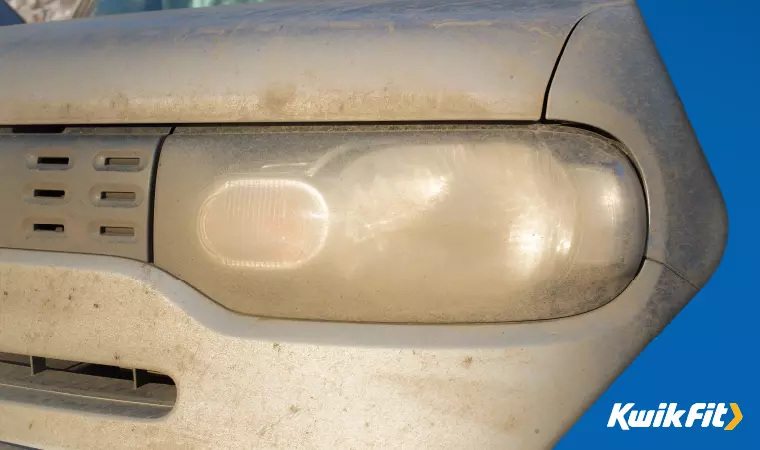
When your car rolls off the production line, its headlights are sparkly, clear, and gleaming but, over time, the plastic covers begin to get cloudy and yellowed. Why is this? Why is it a possible problem? And, more importantly, what can you do about it?
Why yellowed headlights are an issue
Because the headlights are there in order to light up the road in low visibility situations, it’s essential that the light isn’t dimmed by the headlight covers. Good, clear visibility not only helps you to see the road ahead but to actually be seen by other drivers or road users.
The same thing can happen if there’s a break in the headlight seals and water gets into them: the water fogs up the glass and refracts the headlight into a glare.
Being able to clearly see other cars & road users, as well as being able to see when people are braking and/or indicating is vital. So letting your headlights get too yellowed should be avoided at all costs!
Luckily, it’s often quite simple to fix this. Let’s begin with de-yellowing the outside of your headlights.
Assess where the yellowing is
To be sure you’re not wasting your time, it’s wise to first assess where the yellowing is on the headlight covers.
The yellowing happens when the plastic gets pitted over time due to dust, UV damage, oxidation, and general environmental conditions. So it’s most usually only on the outside. But it can also happen on the inside when the covers are improperly sealed.
The best way to check is to feel the outside of the headlight plastic. If it feels smooth then it’s probably not yellowed on the outside. The yellowing will feel rough so, if it feels rough, begin your cleaning efforts with the outside.
Use whitening toothpaste to polish the headlight covers
The cheapest, simplest way to de-yellow the outside is to use a gritty whitening toothpaste as a polish and an old toothbrush that you’re happy to throw away. This costs a few pounds at most and you can have your headlights sparkly in under an hour. However, be sure to do this on a dry day if you don’t have a covered area like a garage or carport to do this in.
The well-known auto YouTuber, ChrisFix, has a great video on using the toothpaste method to clean covers:
In short, though, you should apply the toothpaste thickly by hand all over the cover, let it sit for a few minutes, and then work it in with the toothbrush. This should begin to make the toothpaste darken as it picks up the muck from the headlight.
Then spray some lukewarm water liberally on top of the applied toothpaste and begin to buff it all off with some kitchen roll.
Ideally, you’ll now have a sparkly headlight cover — but if it hasn’t lightened it as much as you’d like, you can repeat the process again. Finally, when you’re happy with the level of lightening, finish off by buffing in some car wax. This helps to seal the plastic and stop it yellowing again as quickly.
If it’s still not lightened the cover as much as you want, and you’re sure that the yellowing is on the outside only, then you can proceed to the next approach.
Warm water & sandpaper

This method might sound scary, but is essentially just a muscle-up from the toothpaste method. If the headlight covers are really yellowed then they’re heavily pitted — so need extra abrasion to smooth them out!
You’ll need a few different grits of sandpaper: a 400 grit, a 600 grit, and a 2000 grit. The lower numbers indicate a more abrasive sandpaper — these will do most of the heavy lifting while the high grit sandpaper will do more of a final smooth and polish.
Begin by getting the headlight quite wet by spraying it with warm water. Then wet the sandpaper and begin to lightly scrub in circles. You should start to see the grit running in the water, keep going until it’s uniformly knocked down.
Then move to the 600 grit paper and repeat the process — make sure to get it quite wet and keep re-spraying the headlight itself. If you dry sand, you’re more likely to create unwanted, deeper scratches. When this is uniform, move up to the last grit and repeat again.
Finally, wipe the headlight clean with some kitchen roll, and then use the same type of toothpaste from the first step to do the final buff. You can actually get special “buffing paste” that’s usually used for polishing things like jewellery, but toothpaste works just fine here.
As before, finish with some wax to seal the headlight covers.
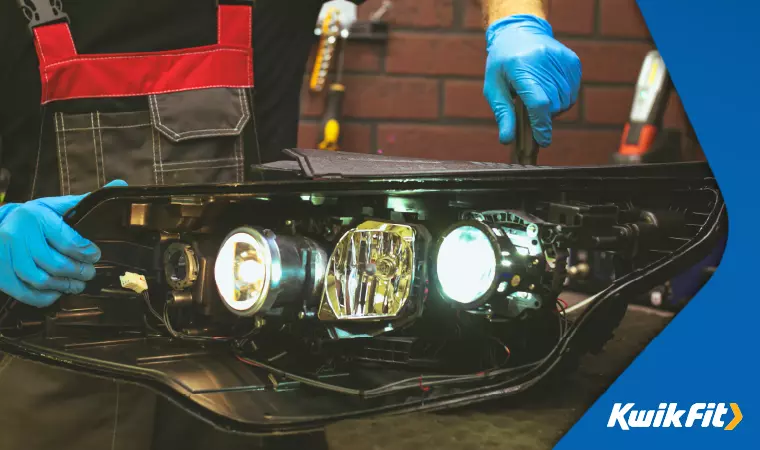
Need new headlights?
If these methods haven’t worked, there’s a chance that the wear is on the inside and you are likely to need new headlights. Book your car into your local Kwik Fit centre for a wide range of vehicle repair & maintenance services.
Any facts, figures and prices shown in our blog articles are correct at time of publication.
Featured Articles
Is it Illegal to Drive With One Headlight?
Saturday 19th July 2025
Wondering if it’s illegal to drive with one headlight? Learn about the safety risks and penalties of illegal blown bulbs and why you should fix them promptly.
Air Con in EVs & Hybrids: Experts Answer Your Questions
Monday 30th June 2025
Does air con drain EV batteries? Can you use the air con while charging an electric car? Find out the answers to these questions & more from Kwik Fit’s experts.
Why Is Your Car Making a Noise? Fixes & Tips
Friday 13th June 2025
When your car starts making unexpected noises, it can certainly be quite disconcerting; it may be nothing to worry about, but here’s what you need to know.